Ever wondered how to measure the length of a bicycle spoke accurately, without relying on guesswork? Whether you’re replacing a broken spoke, building a fresh wheelset, or just geeking out on bike mechanics, getting the right spoke length is crucial for a smooth ride. Trust me, I’ve been there—excited to lace up a new wheel, only to realize the spokes were too short (or worse, too long, poking through the rim tape!). That’s why knowing how to measure bicycle spoke length the right way saves time, money, and frustration.
In this guide, I’ll break it down step by step—no confusing formulas, just easy-to-follow tips. You’ll learn how to measure bicycle wheel spokes, determine the correct spoke gauge, and even use the best spoke length calculator to get it right the first time. So grab your tools (or at least a coffee), and let’s get started! 🚴♂️
Understanding Bicycle Spokes
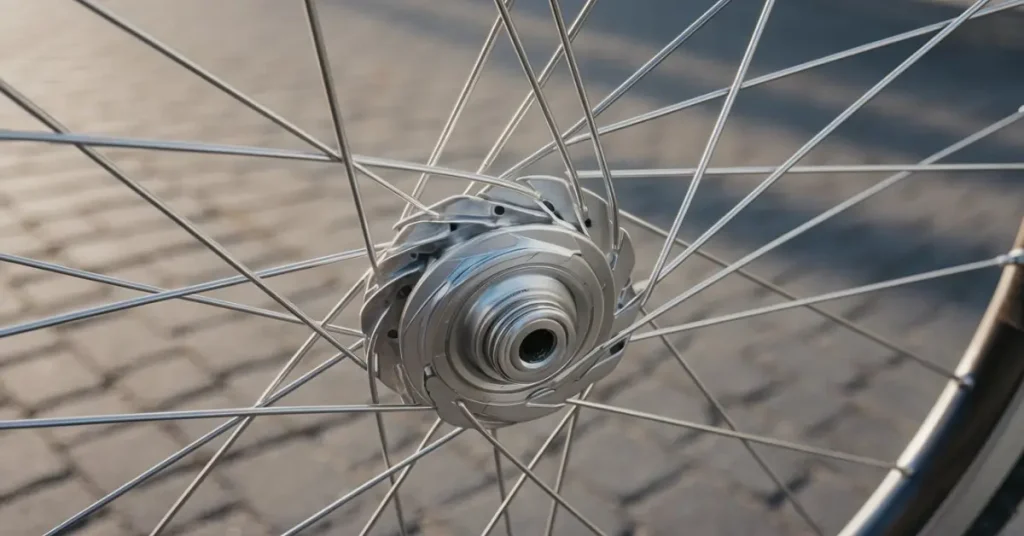
You ever hit a pothole and wonder how your wheel just takes the hit and keeps rolling? That’s your spokes doing their magic. They might look like simple metal rods, but they’re the unsung heroes of your bike—holding everything together, keeping your ride smooth, and making sure your wheel doesn’t buckle under pressure. Think of them like the suspension cables on a bridge, balancing tension and strength to keep everything stable.
When I first started working on my own wheels, I figured spokes were all the same—until I tried replacing one and ended up with a wobbly mess. While some riders assume bike spokes are standard sizes, they actually vary in length, gauge, and head type depending on the bike type and hub setup. And using the wrong ones can throw off your entire ride. Let’s break it down so you don’t make the same mistakes I did.
J-Bend vs. Straight-Pull Spokes
Not all spokes hook up to the hub the same way. J-Bend spokes have a little bend at the head, which makes them easy to replace, while straight-pull spokes go directly into the hub, reducing weak points and improving durability. If you’re riding a traditional wheel, you probably have J-Bend spokes—easy to find, easy to work with. But if you’ve got a high-performance or boutique wheelset, you might be dealing with straight-pull spokes, which are designed to eliminate stress points where spokes typically break.
I learned this the hard way when I ordered a set of replacement spokes online, only to realize they were straight-pull when my hub only fit J-Bends. Lesson learned: Always check your hub type before ordering spokes!
Plain Gauge vs. Butted Spokes
Spokes aren’t just about length; their thickness also plays a huge role in how your wheel performs. A good analogy? Think about a paperclip. Bend a thin one a few times, and it snaps quickly. A thicker one takes more effort. Spokes work the same way—plain gauge spokes are the same thickness throughout, while butted spokes taper down in the middle, making them lighter but just as strong.
- Plain Gauge Spokes (PG): Strong and durable but heavier.
- Single Butted: Thicker at the hub, thinner toward the rim—great for added strength.
- Double Butted: Thinner in the middle, thicker at both ends—reduces weight without sacrificing durability.
- Triple Butted: Thickest at the hub, then gradually tapering—built for extreme strength with some weight savings.
Most standard wheels come with plain gauge spokes because they’re tough and affordable. But if you want a lighter, more responsive ride, double-butted spokes are the way to go. They flex just enough to absorb road vibrations while staying strong under pressure.
Why Spoke Length Varies Between Wheels
This is where things get interesting. Ever noticed how the spokes on one side of your rear wheel look shorter than the other? That’s because spoke length varies due to hub offset, lacing patterns, and the need for balance between drive and non-drive sides in rear and disc brake wheels.
- Rear Wheels: The drive-side spokes are shorter because the cassette pushes the hub slightly off-center.
- Disc Brake Wheels: The rotor side needs different spoke lengths to compensate for the added width.
- Lacing Patterns: A radial lacing (spokes going straight from hub to rim) requires shorter spokes, while a cross pattern (spokes weaving over others) increases spoke length.
I once built a wheel using the same spoke length on both sides because I didn’t know any better. Spoiler alert: the wheel was impossible to true, and I had to start over. Always double-check your spoke lengths before building a wheel!
The Importance of Spoke Gauge and Tension in Wheel Durability
Even if you get the perfect spoke length, spoke tension can make or break your wheel—literally. Too loose, and your wheel will flex like a soggy noodle. Too tight, and you’ll snap spokes like twigs. Spoke gauge affects weight and stiffness, while correct spoke tension ensures a balanced, long-lasting wheel.
- 14g (2mm): The most common size, offering a balance of strength and weight.
- 15g (1.8mm): Lighter, great for racing wheels.
- 13g (2.3mm): Heavy-duty, used for cargo bikes and downhill mountain biking.
A spoke tension meter is the best tool to ensure your wheel is properly balanced. To measure individual bicycle spoke tension, gently pluck each spoke and listen for a consistent tone—or use a calibrated tension meter for exact values. If you don’t have one, you can still check tension by plucking the spokes—they should make a musical “ping” sound, with even tension across the wheel. Uneven tension means trouble down the road.
Final Thoughts
Spokes might not be the flashiest part of your bike, but they determine how smooth, strong, and reliable your ride feels. Knowing the difference between J-bend vs. straight-pull, plain gauge vs. butted, and the role of spoke tension will help you make smarter choices when replacing or building wheels.
Next up, let’s dive into the best tools to measure spoke length accurately—because the right measurement is what keeps your wheels spinning true.
Tools Needed to Measure Bicycle Spokes
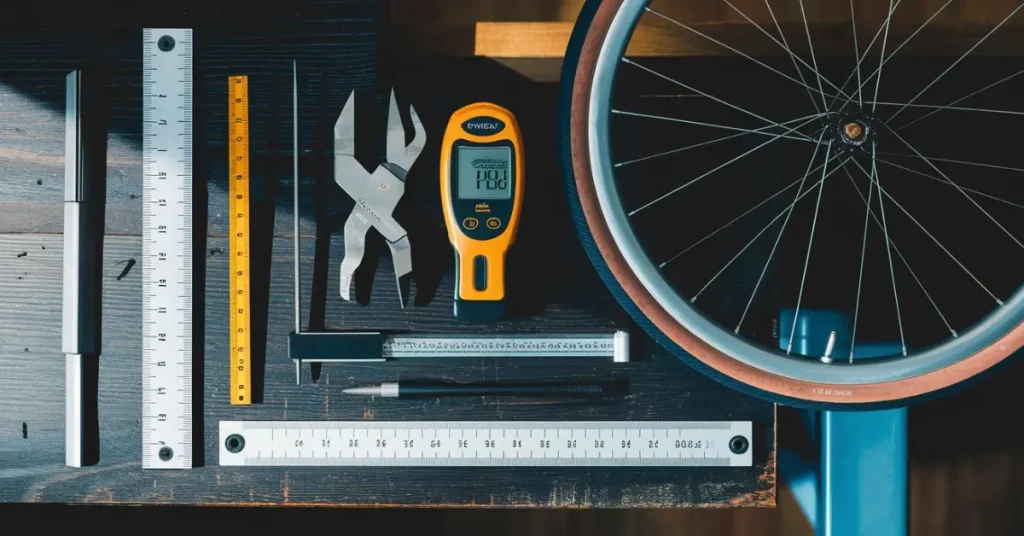
Measuring bicycle spokes isn’t rocket science, but it does require the right tools. When I first tried replacing a spoke, I eyeballed the length, grabbed the closest match, and laced it up—only to find my wheel completely out of true. Turns out, precision matters when it comes to spokes. Being off by even a couple of millimeters can throw your wheel’s balance out the window. To save yourself from frustration (and unnecessary trips to the bike shop), here’s a breakdown of the best tools for getting accurate spoke measurements.
1. Spoke Ruler: The Gold Standard for Measuring Spokes
If you want the easiest, most accurate way to measure a spoke, a spoke ruler is the tool for the job. It’s specifically designed for this purpose—just hook the J-bend end into the ruler, pull the spoke straight, and read the length.
I can’t tell you how many times I tried using a regular ruler, only to misalign the measurement and end up with incorrect spoke lengths. A spoke ruler takes the guesswork out of the process, giving you precise measurements every time. 📏 Consider referencing a spoke length measuring chart as a visual aid when comparing sizes. If you work on wheels regularly or plan on building your own, it’s worth investing in one.
Pro tip: If you don’t have a spoke ruler, a metric tape measure or ruler can work, but you’ll need to be extra careful with alignment to avoid measurement errors.
2. Calipers: Perfect for Measuring Spoke Gauge and Length
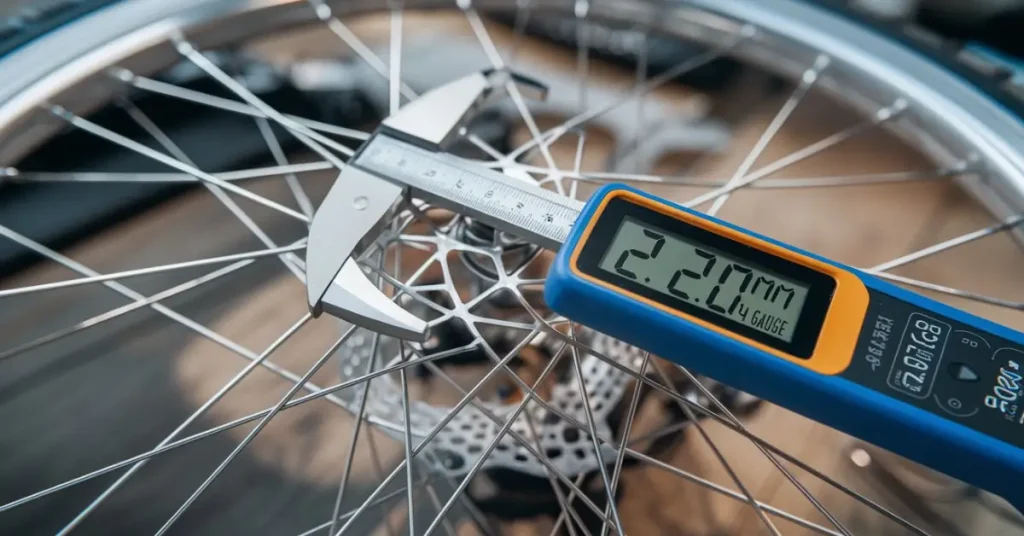
If you want precision down to the fraction of a millimeter, digital calipers are a must-have. While spoke rulers measure length, calipers help with spoke thickness (gauge), which is just as important when ordering replacements.
When I first started replacing spokes, I assumed all of them were the same thickness—big mistake. I ended up mixing 14-gauge (2mm) and 15-gauge (1.8mm) spokes, which led to uneven tension and a wheel that never quite trued up properly. Now, I never skip checking the gauge before ordering new spokes.
How to use calipers for spokes:
- Place the caliper jaws around the middle of the spoke (not near the head or thread).
- Close the calipers gently and check the reading in millimeters.
- Compare the number to standard spoke gauges:
- 14g (2mm) – Most common for standard wheels.
- 15g (1.8mm) – Lighter, used for racing wheels.
- 13g (2.3mm) – Heavy-duty for mountain and cargo bikes.
If you don’t have calipers, some spoke rulers have built-in gauge slots that can give you a rough estimate.
3. Tape Measure: A Simple Alternative for Quick Measurements
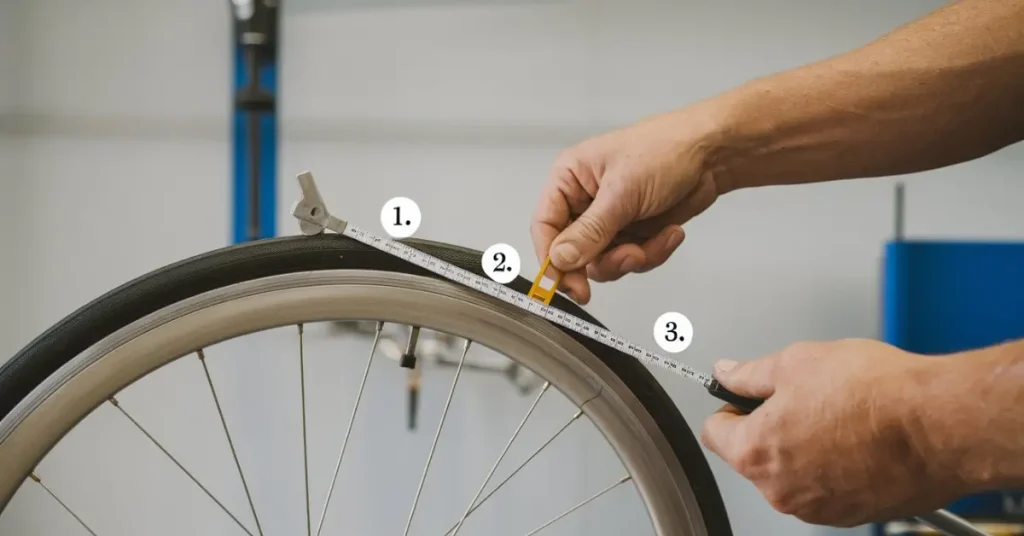
If you don’t have a spoke ruler or calipers on hand, a flexible metric tape measure is the next best thing. It’s not as precise, but if you’re just replacing a broken spoke and need a quick length check, it gets the job done.
How to measure with a tape measure:
- Hook one end at the inside of the J-bend and extend it to the tip of the spoke.
- Make sure the spoke is perfectly straight while measuring.
- Always double-check—even a 1mm difference can throw off your wheel build.
When I first tried using a regular ruler instead of a tape measure, I accidentally measured from the outside of the J-bend instead of the inside—resulting in spokes that were 2mm too long. Small errors can lead to big headaches when it comes to wheel truing.
4. Spoke Length Calculators: Your Secret Weapon for Building Wheels
If you’re building a wheel from scratch, measuring a single spoke isn’t enough. You need to calculate the perfect spoke length based on your rim, hub, and lacing pattern. This is where online spoke length calculators save the day.
I remember my first wheel build—I thought I could just measure an old spoke and buy a new set. Nope. The spoke length changes based on cross patterns, hub dimensions, and even disc brake spacing. A spoke calculator does the math for you, ensuring you get the perfect length the first time.
Best spoke length calculators:
- DT Swiss Spoke Calculator – Ideal for DT Swiss hubs and rims.
- Pro Wheel Builder Spoke Calculator – Works for various brands.
- Free spoke calculators – Many rim and hub manufacturers offer their own online tools.
How to use a spoke calculator:
- Enter the Effective Rim Diameter (ERD) – the internal diameter where the spoke nipples sit.
- Input hub flange diameter and flange-to-center distance.
- Choose your spoke lacing pattern (radial, 2-cross, 3-cross).
- Get your exact spoke length needed for both drive and non-drive sides.
If you’re unsure about any measurements, double-check before cutting or ordering spokes. A small error here can lead to big frustration when trying to lace the wheel.
Final Thoughts
Having the right tools makes spoke measurement fast, easy, and accurate. A spoke ruler is the best tool for measuring length, calipers ensure the correct gauge, and a spoke calculator does the math for new builds.
I’ve made plenty of mistakes in the past by guessing spoke sizes, but trust me—taking a few extra minutes to measure correctly will save you time, money, and headaches. Up next, let’s go step by step through how to measure bicycle spoke length like a pro!
Step-by-Step Guide: How to Measure Bicycle Spokes Length?
Measuring bicycle spokes isn’t rocket science, but trust me—you don’t want to guess. I learned that the hard way when I once replaced a spoke, only to realize it was too long. The result? A wobbly wheel, a punctured inner tube, and an unnecessary headache. Whether you’re replacing a broken spoke or calculating spoke length for a custom wheel build, getting it right from the start saves you time, money, and frustration. Let’s go step by step so you never have to second-guess your spoke measurements again.
A. Measuring an Existing Spoke (Replacement Scenario)
If you’re just swapping out a broken spoke, the easiest way to find the correct length is to measure another spoke from the same wheel. Ideally, pick one from the same side and lacing pattern—because, surprise, not all spokes in a wheel are the same length!
Step 1: Remove the Spoke from the Wheel
Use a spoke wrench to unscrew the nipple from the rim, then gently pull the spoke out of the hub. If the spoke is snapped, try to find both broken halves so you can piece them together for an accurate measurement.
Step 2: Place It on a Spoke Ruler or Use Calipers
A spoke ruler is the best tool for this job—it’s quick, easy, and foolproof. Hook the J-bend end onto the ruler and read the length at the tip. If you don’t have one, digital calipers can also do the trick. A tape measure or ruler works in a pinch, but be extra careful to measure straight.
Step 3: Measure from the Inside of the J-Bend to the Tip of the Thread
For J-bend spokes, the correct measurement starts from the inside of the bend—not the outer curve. If you’re dealing with straight-pull spokes, simply measure from one end to the other.
Step 4: Round to the Nearest Millimeter
Spokes are typically sold in 1mm increments. If you land between two sizes, always round up—better to file down a slightly long spoke than struggle with one that’s too short.
B. Measuring for a New Wheel Build
If you’re building a fresh wheel from scratch, spoke length depends on three key factors: rim diameter, hub dimensions, and lacing pattern. Each of these measurements affects how far the spokes must travel from the hub to the rim.
Step 1: Measure the Effective Rim Diameter (ERD)
ERD (Effective Rim Diameter) is the measurement from one spoke nipple seat to the other, across the rim. This is not the same as the outer rim diameter!
How to Measure ERD:
- Check Manufacturer Specs – Many rim manufacturers list the ERD online, but always verify.
- Use Two Old Spokes – If you don’t have the specs, thread two old spokes into opposite nipple holes and measure the gap between their ends.
- Calculate ERD – Add the length of the spokes to the gap between them. That’s your ERD.
Step 2: Measure the Hub Flange Diameter
The hub flange diameter is the circle of holes where the spokes connect to the hub. This measurement is crucial—get it wrong, and your spoke length will be off.
How to Measure Hub Flange Diameter:
- Use Digital Calipers – Measure straight across the flange, from one spoke hole to the opposite one.
- Measure Both Sides – The drive and non-drive sides can be different, especially on rear hubs.
Step 3: Measure the Flange-to-Center Distance
This measurement determines how far each hub flange is from the center of the hub. If this is miscalculated, your wheel won’t be properly dished (centered).
How to Measure Flange-to-Center Distance:
- Measure the Hub’s Total Width – Use calipers to measure from one locknut to the other (for quick-release hubs) or end cap to end cap (for thru-axle hubs).
- Find the Center – Divide the hub width by 2 to find the centerline.
- Measure Each Flange Distance – Measure from the flange to the end of the hub, then subtract from the centerline measurement.
Step 4: Determine the Spoke Lacing Pattern
The spoke lacing pattern affects spoke length because it changes the spoke’s travel path from hub to rim. Here’s a quick breakdown of common patterns:
- Radial (0-cross) – Spokes go straight from hub to rim, shortest possible spoke length.
- 2-Cross (2X) – Each spoke crosses two others before reaching the rim.
- 3-Cross (3X) – The most common pattern, providing a balance of strength and flexibility.
If you’re replacing spokes, match the existing pattern. If building new, choose based on your riding style—stronger patterns like 3X are best for heavy loads or rough terrain.
Step 5: Use a Spoke Length Calculator
Now that you have your ERD, hub measurements, and lacing pattern, it’s time to plug them into a spoke calculator. These online tools save you from manually crunching numbers (unless you love bike math).
Best Spoke Length Calculators:
- DT Swiss Spoke Calculator – Perfect for DT Swiss hubs and rims.
- Pro Wheel Builder Spoke Calculator – Covers a variety of brands.
- Free spoke calculators – Many brands offer free tools for quick calculations.
How to Use a Spoke Calculator:
- Enter the ERD, hub flange diameter, and flange-to-center distance.
- Select your lacing pattern (radial, 2X, or 3X).
- Choose the number of spokes in the wheel.
- Click calculate and take note of the suggested spoke lengths for the drive and non-drive sides.
If your calculator suggests two different spoke lengths (e.g., 290mm on the drive side, 292mm on the non-drive side), order both sizes or take an average if the difference is only 1mm.
Final Thoughts
Measuring bicycle spokes doesn’t have to be complicated. If you’re replacing a single spoke, carefully measure an existing one for accuracy. If you’re building a wheel from scratch, getting precise rim, hub, and lacing pattern measurements is everything.
Using a spoke length calculator takes the guesswork out of the process. Trust me, I’ve made plenty of mistakes by skipping measurements, and it always led to frustration. Take your time, double-check your numbers, and you’ll end up with a perfectly balanced wheel.
Now that you’ve got your spoke length sorted, let’s talk about spoke gauge—because thickness matters just as much as length when it comes to wheel performance!
How to Measure Bicycle Spoke Gauge?
If you’ve ever trued a wheel or replaced a broken spoke, you know that spoke thickness (gauge) matters just as much as length. The gauge affects your bike’s performance, weight, and durability. A thinner spoke might make your ride smoother, but too thin, and you risk snapping a spoke mid-ride. A thicker spoke, on the other hand, adds strength but can make the wheel feel overly stiff. So, how do you figure out the right gauge for your wheel? Let’s break it down.
Why Spoke Gauge Matters in Wheel Performance
Spoke gauge refers to the thickness of the spoke wire, and it plays a huge role in how strong, flexible, and responsive your wheel feels. The right gauge depends on the type of riding you do:
- Thinner spokes absorb more road vibration, making them a good choice for long-distance and road cyclists.
- Thicker spokes are stronger and stiffer, ideal for mountain biking, e-bikes, and heavy loads.
I learned this lesson the hard way when I built my first touring wheel. I thought lighter meant better, so I used 15-gauge (1.8mm) spokes. Bad move! After a few weeks of riding with full panniers, I snapped two spokes on a rough gravel road. Lesson learned—thicker spokes (14g or 13g) are a must for heavy-duty riding.
Common Spoke Thickness Options
Spokes typically come in three main gauges:
- 14 Gauge (2.0mm) – Standard for Most Wheels
This is the most common spoke size found on road, hybrid, and standard mountain bikes. It strikes a balance between strength and weight, making it a solid all-around choice. - 15 Gauge (1.8mm) – Lighter Spokes for Racing
These spokes are thinner, which means they’re lighter and more flexible, helping to absorb road vibrations. They’re common in racing bikes where weight savings are key. - 13 Gauge (2.3mm) – Heavy-Duty Spokes for MTBs and Cargo Bikes
These are the thickest, most durable spokes, perfect for mountain bikes, cargo bikes, tandems, and e-bikes. They can handle extreme stress and impacts but add weight to the wheel.
Many modern wheels use double-butted spokes, which taper from 2.0mm at the ends to 1.8mm in the middle. These spokes save weight while keeping strength where it’s needed most.
How to Measure Spoke Gauge Using Calipers or a Spoke Ruler
Now, let’s get to the hands-on part—how to measure the gauge of your spokes accurately.
Method 1: Using a Digital Caliper (Best for Precision)
- Place the caliper around the middle of the spoke (avoid the ends, as some spokes are butted and taper in thickness).
- Close the caliper gently and read the measurement in millimeters.
- Compare the reading to standard spoke gauges:
- 2.0mm = 14 gauge
- 1.8mm = 15 gauge
- 2.3mm = 13 gauge
If you’re using double-butted spokes, you might get different readings at different points along the spoke.
Method 2: Using a Spoke Ruler (Quick and Easy)
- Take your spoke and insert it into the spoke gauge slots on a spoke ruler.
- The slot where the spoke fits snugly determines its gauge.
- Check for tapering—if the spoke fits into different slots along its length, you have a butted spoke.
Method 3: Using a Tape Measure (In a Pinch)
If you don’t have a caliper or spoke ruler, you can estimate the thickness using a metric tape measure. However, this method is less precise and should only be used for a quick reference.
Final Thoughts
Spoke gauge is a crucial factor in wheel performance, affecting strength, weight, and ride quality. If you’re riding long distances or carrying heavy loads, thicker spokes (13-14g) will hold up better. For racing and speed, thinner spokes (15g) can help shave off weight and improve ride feel. For MTB setups, especially downhill or trail bikes, it’s best to measure spoke size precisely and go with thicker 13g or reinforced double-butted spokes.
Before replacing or ordering spokes, always measure their gauge first. A digital caliper or spoke ruler will save you from miscalculations—and trust me, there’s nothing worse than lacing up a new wheel only to realize you’ve got the wrong size spokes!
Next up, let’s look at common mistakes people make when measuring spokes—so you can avoid them and get your wheels built right the first time.
Common Mistakes When Measuring Spokes (And How to Avoid Them!)
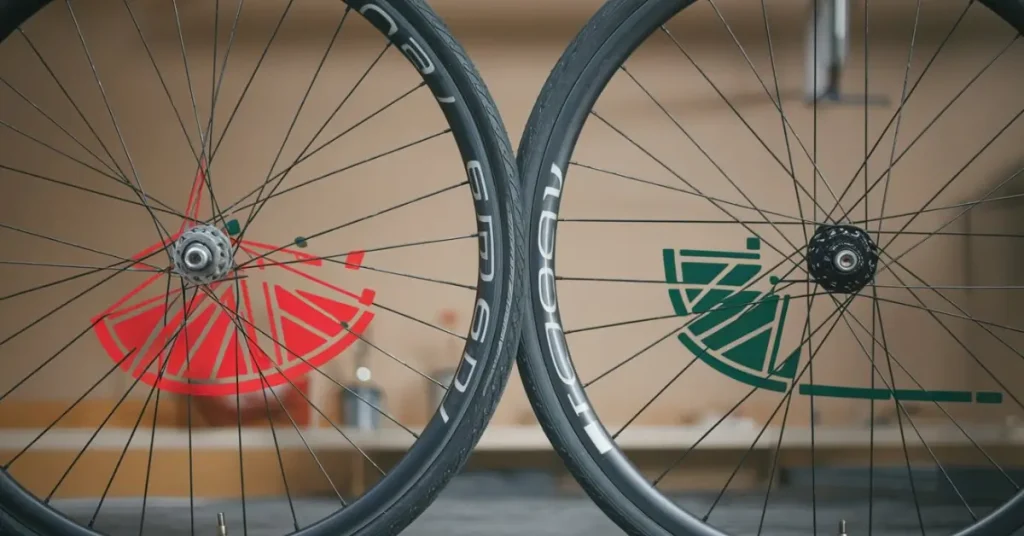
Measuring bicycle spokes might seem like a simple task—until you lace up your wheel and realize the spokes don’t fit! A tiny mistake, even by 1-2mm, can leave you with a wobbly wheel that refuses to true properly. Trust me, I’ve been there. The frustration of reordering spokes or worse, dealing with a rim full of poking spokes, is something you don’t want to experience.
Here’s a breakdown of the most common spoke measurement mistakes and how to get it right the first time.
1. Measuring from the Wrong Points
One of the most common mistakes is measuring from the wrong place on the spoke. If you’re working with J-bend spokes, you need to measure from the inside of the bend to the very tip of the thread—not the outer edge of the bend.
👉 Why does this matter? Because a 2-3mm miscalculation can throw off your spoke length and leave you with a wheel that won’t tension properly.
Storytime: The first time I built a wheel, I measured from the outside of the J-bend. When I laced it up, the spokes stuck out past the rim tape and punctured my inner tube—total disaster. Lesson learned: always measure from the correct starting point!
- For J-bend spokes → Measure from the inside of the bend to the tip of the threads.
- For straight-pull spokes → Measure from one end to the other.
2. Ignoring the Spoke Lacing Pattern
Here’s a shocker: Not all spokes in a wheel are the same length. Your spoke length depends on the lacing pattern, and if you don’t account for it, you’ll end up with a mismatched set of spokes that won’t work.
Common lacing patterns & their impact on spoke length:
- Radial (0-cross): Spokes go straight from hub to rim → Shortest spoke length.
- 2-Cross (2X): Spokes cross two others before reaching the rim.
- 3-Cross (3X): The most common pattern for strong wheels → Spokes are slightly longer.
Additionally, rear wheels and disc brake wheels often have shorter drive-side spokes to compensate for the hub offset.
🚨 I made this mistake myself! I once assumed all the spokes in my rear wheel were the same length and ordered a full set—half of them didn’t fit. I had to reorder and start over. Double-check both sides of your wheel before ordering new spokes!
3. Relying on Manufacturer Specs Without Verification
Many people assume that if a rim or hub manufacturer lists a recommended spoke length, they don’t need to measure—big mistake. Manufacturer specs aren’t always precise, and even a small variance in Effective Rim Diameter (ERD) or hub flange spacing can throw off spoke length.
Pro Tip: Always verify measurements yourself! Even if you’re using a spoke length calculator, double-check the numbers you input:
- Hub flange diameter
- Effective Rim Diameter (ERD)
- Flange-to-center distance
Personal experience: I once trusted a forum recommendation for spoke length, thinking it would match my setup. It didn’t. My rim’s ERD was slightly different, and my spokes were 2mm too short, making it impossible to properly tension the wheel. Lesson learned—always measure yourself!
4. Using Worn-Out or Inaccurate Measuring Tools
Your measurement is only as good as your tools. If you’re using:
- A tape measure with faded markings
- A cheap plastic ruler that’s not perfectly straight
- Guesswork instead of a proper measuring tool
… you’re asking for trouble.
Best tools for accurate spoke measurement:
- Spoke Ruler → The gold standard for precise measurements.
- Digital Calipers → Great for measuring spoke gauge and verifying length.
- Tape Measure → Works in a pinch, but be extra careful.
Storytime: I once used a cheap plastic ruler instead of a proper spoke ruler. Guess what? My measurements were off by 1-2mm, and I didn’t notice until I laced up the wheel. Now, I only trust a metal spoke ruler or digital calipers—lesson learned!
Final Thoughts: Measure Twice, Cut Once!
Spoke measurement mistakes can be frustrating, but they’re 100% avoidable if you take the time to measure carefully.
Key takeaways:
- Measure from the correct points (inside of the J-bend, not the outside!).
- Account for lacing patterns—not all spokes in a wheel are the same length!
- Double-check manufacturer specs before ordering spokes.
- Use reliable measuring tools like a spoke ruler or digital calipers.
I’ve made every one of these mistakes at some point, and nothing is worse than realizing your spokes are the wrong size after lacing up a wheel. Take a few extra minutes, measure carefully, and you’ll end up with a strong, perfectly balanced wheel every time.
Next up: Let’s clear up any lingering doubts with a FAQs section—covering the most common spoke measurement questions!
FAQs: Quick Answers to Common Questions
Got spoke measurement questions? You’re not alone! Even experienced mechanics sometimes scratch their heads over spoke length, gauge, and fitment—and trust me, I’ve had my fair share of trial-and-error moments. Here are the most common questions and quick, no-nonsense answers to keep you on the right track.
1. How do I check if my bicycle spokes are the correct length?
The best way? Lace up a spoke and see where it sits. If the spoke is too short, it won’t engage enough of the nipple threads, making the wheel weak. Too long? It’ll poke through the rim tape, risking a punctured inner tube.
Quick check: Spokes should thread securely into the nipple without sticking out past the rim. If you’re unsure, use a spoke length calculator for peace of mind.
2. What happens if I use the wrong spoke length?
Oh, I’ve been there—built an entire wheel only to realize the spokes were too short. Not fun.
❌ Too short? Your wheel won’t tension properly, and spokes might pop out under stress.
❌ Too long? They’ll poke through the rim, possibly puncturing your inner tube.
A 1-2mm difference is usually fine, but anything beyond that can throw off balance and durability. Measure carefully before lacing up your wheel!
3. Can I measure spokes without removing them from the wheel?
Yes, but it’s tricky. You can:
- Compare the spoke to another one from the same wheel that’s already removed.
- Use a caliper to estimate its length while it’s still in the wheel.
- Check the wheel specs online (though always verify measurements yourself).
Pro Tip: If you’re in doubt and can remove one spoke, do it! That’s the most accurate way to measure.
4. How do I determine spoke length without a spoke ruler?
No spoke ruler? No problem! Here’s what you can use instead:
- Digital calipers – The best alternative for precise measurements.
- Metric tape measure – Works well, just make sure the spoke is perfectly straight.
- A ruler with millimeter markings – Not as ideal, but better than guessing.
Key tip: If using a tape measure, always measure from the inside of the J-bend (not the outer curve!) to the very tip of the threads.
5. What is the best free spoke length calculator online?
There are a ton of great free tools to calculate spoke length. My favorites:
- DT Swiss Spoke Calculator – Best for DT Swiss rims/hubs, but works for others too.
- Pro Wheel Builder Spoke Calculator – Covers various brands and setups.
- Free Spoke Calculators – Many brands provide their own tools, so check your rim/hub manufacturer’s website.
Why use one? Because calculating spoke length manually involves trigonometry—and unless you enjoy that kind of math, let the calculator do the work.
6. How much does spoke length affect wheel performance?
More than you think! Even a tiny spoke length mistake can mess up your wheel.
- Too short? The wheel won’t be strong enough, and spokes might pull out under tension.
- Too long? They’ll stick out, risking punctures and uneven spoke tension.
- Just right? The wheel is strong, evenly tensioned, and lasts longer.
Rule of thumb: 1mm off is okay, 2mm+ starts to cause problems—especially on precision builds.
7. Do I need different spoke lengths for the front and rear wheel?
Most of the time, yes! Rear wheels are often asymmetrical due to the cassette, meaning the drive-side spokes are shorter than the non-drive side.
For disc brake bikes, the front wheel might also have different spoke lengths (to compensate for the rotor spacing).
Best practice? Always measure both sides of the wheel separately—don’t assume they’re the same!
Final Thoughts
Spoke length might seem like a small detail, but it makes or breaks your wheel build. Whether you’re replacing a single spoke or lacing up a fresh wheelset:
- Measure twice, order once.
- Use a spoke calculator to double-check.
- Avoid guessing—2mm off can be a big deal!
I’ve learned from my mistakes (trust me, I’ve had my fair share of spoke disasters). Take the time to measure properly, and your wheel will stay true and strong for miles to come.
Got any other spoke-related questions? Drop them in the comments, and I’ll be happy to help! 👇
Conclusion: Get Your Spoke Measurements Right the First Time
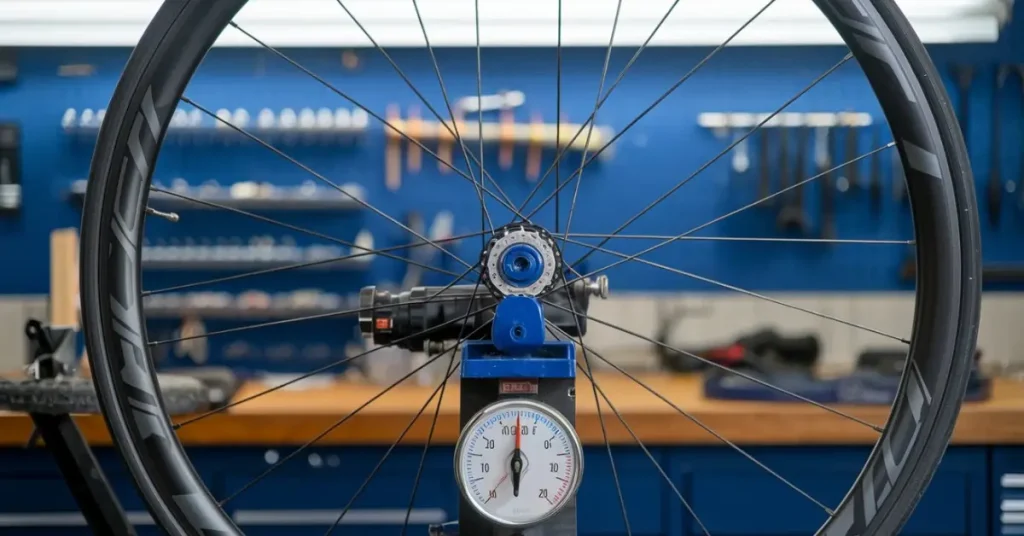
Measuring bicycle spokes correctly isn’t just a small detail—it’s what keeps your wheels rolling true and strong. Whether you’re replacing a single broken spoke or lacing up an entire wheel from scratch, getting the right length and gauge is everything.
I’ve learned (sometimes the hard way!) that skipping measurements, assuming specs are correct, or using the wrong tools can lead to endless frustration. A tiny 1-2mm mistake might not sound like much, but it can throw off wheel tension, make truing impossible, or even cause spoke failures down the line.
Key Takeaways:
- Always measure from the correct points (inside of the J-bend, not the outer edge!).
- Double-check your lacing pattern—not all spokes in a wheel are the same length!
- Use a spoke length calculator to confirm your measurements.
- Invest in a spoke ruler or digital calipers for the most accurate results.
- When in doubt, measure twice, order once.
Your Next Steps
If you’re about to replace or build a wheel, take the time to measure properly. Trust me, it’s worth it. Use a spoke calculator, verify every measurement, and you’ll end up with a perfectly tensioned, long-lasting wheel.
Looking for a reliable place to buy spokes? Check out your favorite local bike shop or reputable online suppliers who offer pre-cut spokes in precise lengths.
Still, Have Questions? Drop Them Below!
Got a spoke-related question? Drop it in the comments! I’d love to help you avoid the mistakes I’ve made and make your next wheel build smooth and stress-free.
Read Next…
If you want to then you can read our LinkedIn post.
Best regards,
~Team BikeBicycler
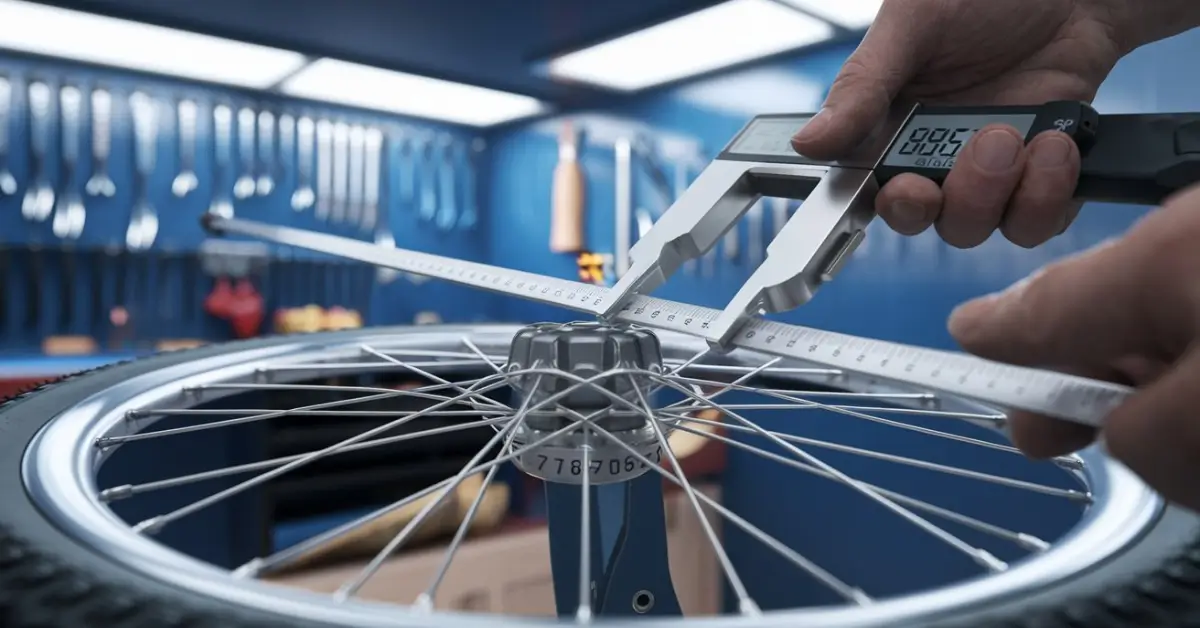
How about an explanation of what those three lacing patterns mean?
Thank you for your comment! 😊 You’re absolutely right—providing more details about Radial, 2-cross, and 3-cross lacing patterns would make the article even more informative for readers. We will be updating this section soon to clearly explain the differences and their impact on spoke length and wheel performance. Really appreciate your valuable suggestion! 🙌